Your hair can be long, healthy, and shiny but still look tired if everything falls in one heavy shape. Face framing layers are the quickest way to make your haircut look fresh, lifted, and more flattering without losing your length.
The key is cutting slowly, choosing the right starting point, and blending the pieces so they soften your face instead of creating harsh chunks.

Prep Your Hair Before You Cut
Face framing layers work best when you can clearly see the shape of your hair. Do not start cutting when your hair is tangled, overly oily, or full of product buildup.
Wash and dry your hair first if it feels heavy. Use a sulfate-free shampoo if your scalp is dry, flaky, or sensitive. Keep conditioner on the mid-lengths and ends so your roots stay light.
If your hair is naturally straight or wavy, blow-dry it smooth before cutting. This helps you see the real length and avoid uneven pieces.
If your hair is curly, coily, or textured from 3A to 4C, be extra careful. Curls shrink when dry, so cutting wet can make the layers much shorter than expected. For curly hair, it is usually better to cut the front pieces dry, curl by curl, or see a stylist if you want a major change.
Before cutting, decide where you want the shortest layer to start:
- Chin length gives soft, classic framing
- Cheekbone length gives a lifted, trendy look
- Jawline length works well for curtain bang blending
- Collarbone length is safer if you are nervous
When in doubt, start longer. You can always cut more, but you cannot put length back.
Tools You Need for a Cleaner Cut
Please do not use kitchen scissors. Dull scissors can crush the ends and create frizz, split ends, and an uneven finish.
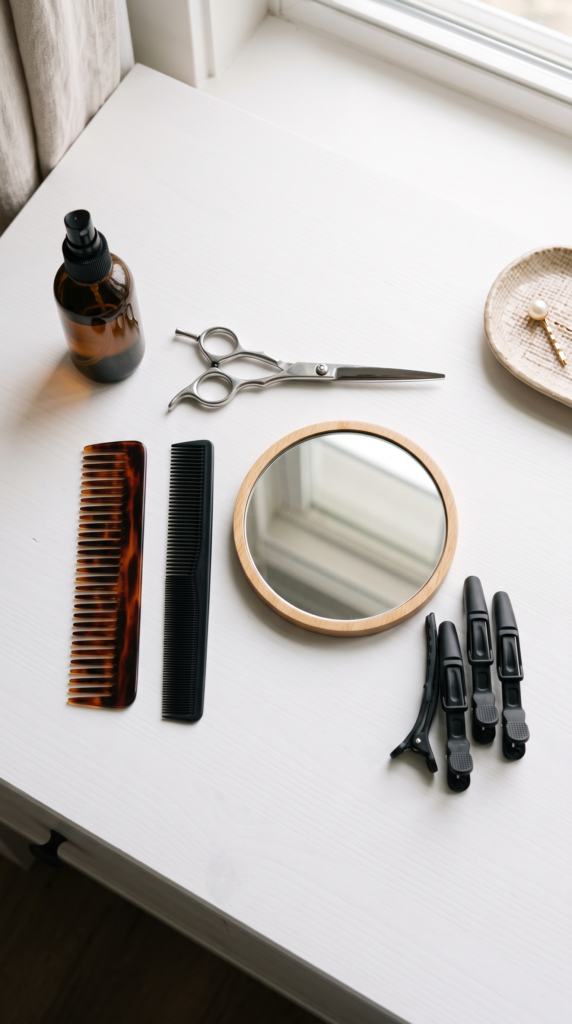
You only need a few simple tools:
- Sharp haircutting shears
- Fine-tooth comb
- Wide-tooth comb
- Sectioning clips
- Spray bottle with water
- Mirror with good lighting
- Heat protectant if you smooth hair first
If your hair is thick or coarse, sectioning clips are especially helpful. They keep the rest of your hair out of the way so you do not accidentally cut too much.
For fine or thin hair, cut very small amounts at a time. Too many short front layers can make the ends look sparse.
Step-by-Step: How to Cut Face Framing Layers
Start by creating your natural part. This matters because your layers should fall where you actually wear your hair.
Next, separate the front section on each side. A good guide is to take a triangle-shaped section from your part down to the front of your ears. Clip the rest of your hair back.
Comb both front sections forward. Make sure they are smooth and even. If your hair is very slippery, mist it lightly with water, but do not soak it.
Now choose your shortest point. For a soft, fresh look, start around the chin or collarbone if this is your first time.
Follow these steps:
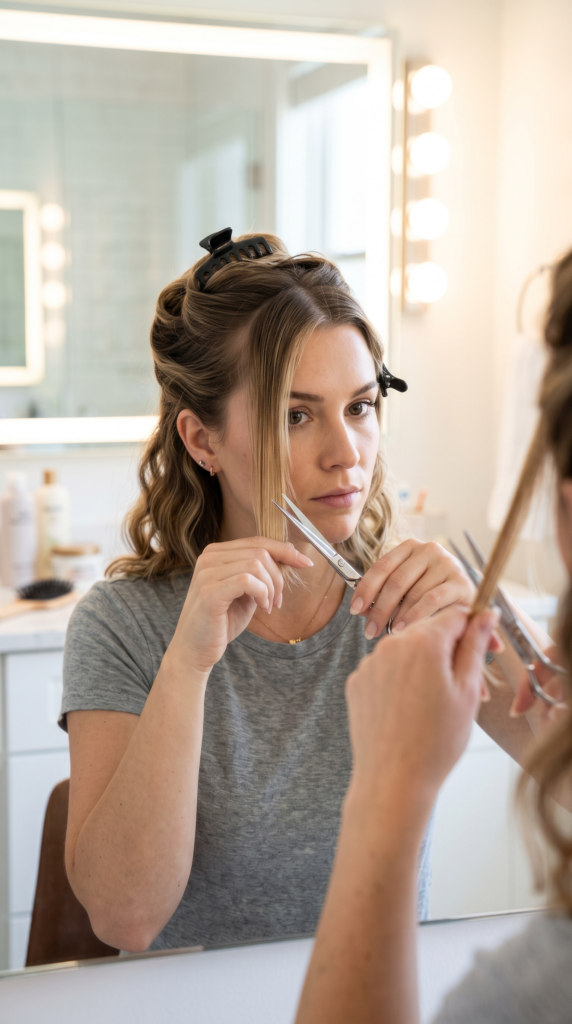
- Hold one front section between your fingers
- Angle your fingers downward, away from your face
- Cut small, vertical snips into the ends
- Do not cut straight across
- Repeat on the other side
- Check both sides in the mirror
The angle is what creates the face framing effect. You want the shortest pieces near the front, then a soft slope that blends into the rest of your hair.
Use point cutting, not blunt cutting. Point cutting means holding the scissors vertically and making tiny snips into the ends. This keeps the layers soft instead of choppy.
Blend the Layers So They Look Natural
After the first cut, do not keep cutting right away. Comb the pieces down and look at them from the front and side.
The layers should curve softly around your face. If one side looks heavier, trim only tiny amounts until both sides feel balanced.
To blend the face framing pieces into the rest of your hair, take the front layer and a small section of longer hair behind it. Hold them together at an angle and point cut the heavier edge.
This removes the harsh “step” between short and long pieces.
For long hair, keep the blend soft and gradual. For medium hair, avoid cutting too much around the jaw unless you want a shaggy or layered bob effect.
If your hair has high porosity or frizz, finish with a small amount of lightweight leave-in or serum on the ends. Ingredients like argan oil, keratin, or hyaluronic acid can help the fresh layers look smooth and shiny.
If your hair is low porosity, keep products light. Too much cream can sit on top of the hair and make the new layers look greasy.
Pro Tips to Avoid a Haircut Mistake
The biggest mistake is cutting too much too fast. Face framing layers look easy, but one extra inch can completely change the shape.
Do this:
- Cut less than you think
- Start below the chin if you are unsure
- Use sharp haircutting shears
- Point cut for softness
- Check your hair from different angles
- Style it before deciding to cut more
Avoid this:
- Cutting wet curly hair too short
- Pulling hair too tightly while cutting
- Using craft or kitchen scissors
- Cutting straight across the front
- Trying to fix uneven pieces while panicking
If your hair is very thick, dense, or already layered, a stylist can help you avoid bulky side pieces. If your hair is thin or thinning, keep the front layers longer so your ends still look full.

Style the Final Look
Once your layers are cut, style them to see the real shape. Face framing pieces often look best when they are blow-dried away from the face.
Apply heat protectant first. Then use a round brush to lift the front pieces up and back. Let them cool before touching so the shape lasts longer.
For a soft everyday look, curl the front layers away from your face with a large-barrel curling iron. For natural waves, scrunch in a little curl foam and diffuse on low heat.
Your finished face framing layers should make your hair look lighter, fresher, and more intentional. They should brighten your face without making the rest of your hair feel thin.
Face framing layers are a small change with a big effect. Cut slowly, blend softly, and keep your first attempt longer than your final goal. Once you see how the pieces move around your face, you can always refine them later.